
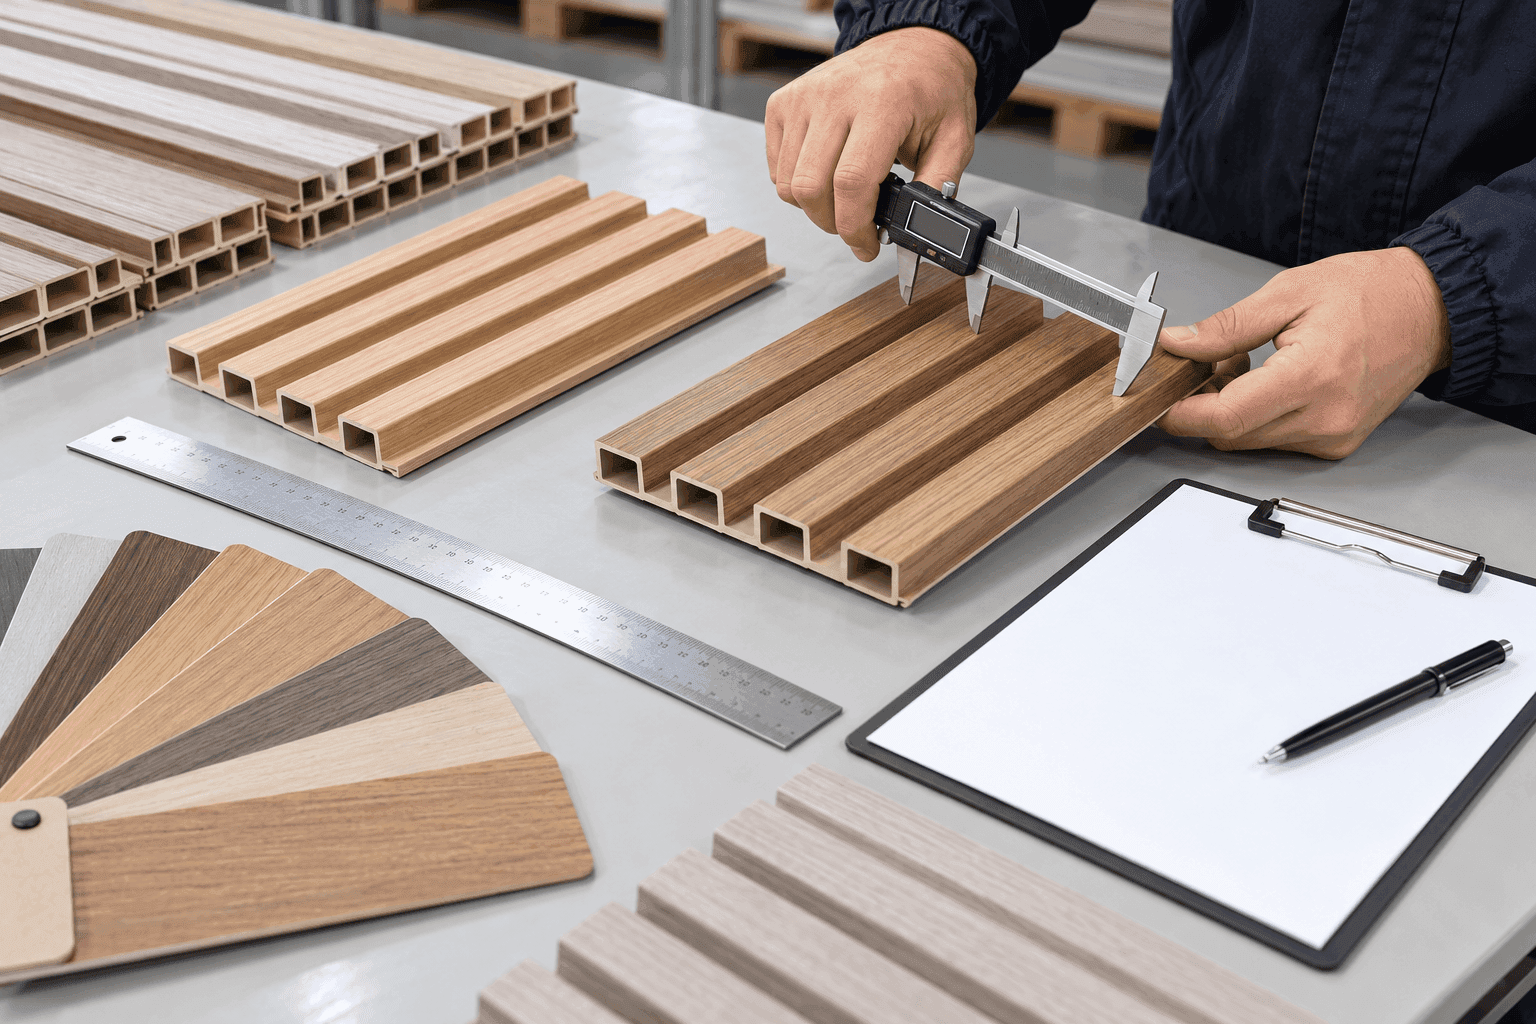
A useful inspection compares the finished order with agreed criteria, not with a general impression that the panels “look good.” For importers, distributors and project buyers, the objective is to confirm product identity, record verifiable results and resolve any deviation before shipment is authorized.
This guide does not replace a technical specification, an agreed sampling plan or destination-market requirements. Define methods, tolerances, documents and responsibilities in writing before production. Where laboratory testing is required, use the method and laboratory accepted for the project.
1. Define the inspection basis before production
An inspection cannot decide by itself what “good quality” means. The order, specification, profile drawing, approved sample and market requirements must establish what will be checked and what variation is acceptable.
Separate mandatory requirements from visual references. Define method, instrument, measurement point, tolerance, sample size and decision owner. If a criterion was not agreed before production, document the gap instead of inventing a limit during inspection.
- Current order and specification
- Quoted profile drawing
- Approved physical sample
- Colour and finish references
- Agreed sampling plan
- Criteria and release authority
2. Confirm identity, quantity and sample selection
Before measuring, confirm that the available material matches the order: profile, length, décor, colour, accessories, quantity and completion status. Record batches or references so every result can be linked to specific product.
Select samples from different cartons, positions and production periods according to the agreed plan. Checking only pieces presented by the supplier can hide variation. Maintain traceability between each sample, measurement, photograph and source carton.
- Correct profile and reference
- Décor, colour and length
- Finished and outstanding quantity
- Included accessories
- Distributed carton selection
- Traceability for every sample
3. Check dimensions, section and profile condition
Measure width, thickness, length and relevant geometry at the defined points. Check usable coverage where it forms part of the quotation. Use suitable instruments, verify their condition and record actual values rather than marking only “pass.”
Review hollow section, edges, cavities, tongue-and-groove or joint, straightness and cut condition. Compare them with the drawing and approved sample. Weight may be recorded as a consistency indicator where a method is agreed, but should not be used alone as proof of quality.
- Width, thickness and length
- Usable coverage where applicable
- Section and cavity geometry
- Edges, joint and cut condition
- Straightness under the agreed method
- Values recorded by sample
4. Compare surface, décor and colour
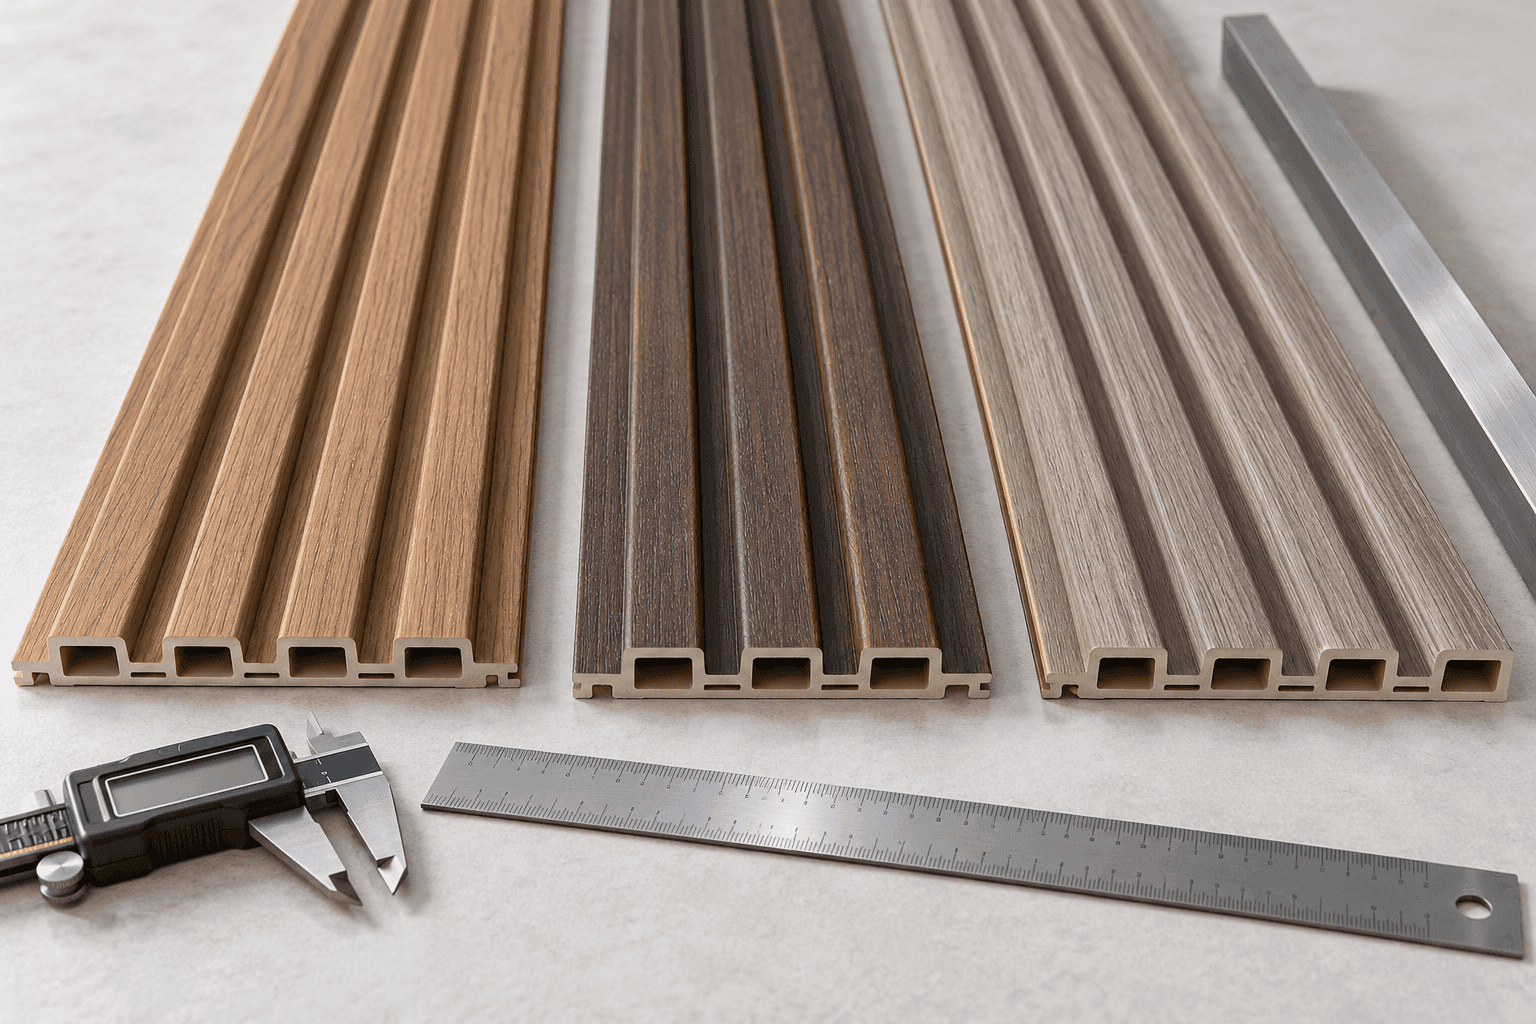
Inspect under defined lighting conditions. Compare colour, texture, gloss, relief, décor repeat and joint appearance with the approved sample. Review several pieces together because a small difference may become more visible across a large wall.
Look for scratches, stains, bubbles, contamination, lifted film, damaged edges and other defects described in the criteria. Record location, frequency and severity; an isolated photograph without scale or batch reference provides little decision value.
- Colour under defined lighting
- Texture, gloss and relief
- Décor repeat and variation
- Scratches, stains or contamination
- Surface adhesion and edges
- Recorded frequency and location
5. Trial-assemble joints and accessories
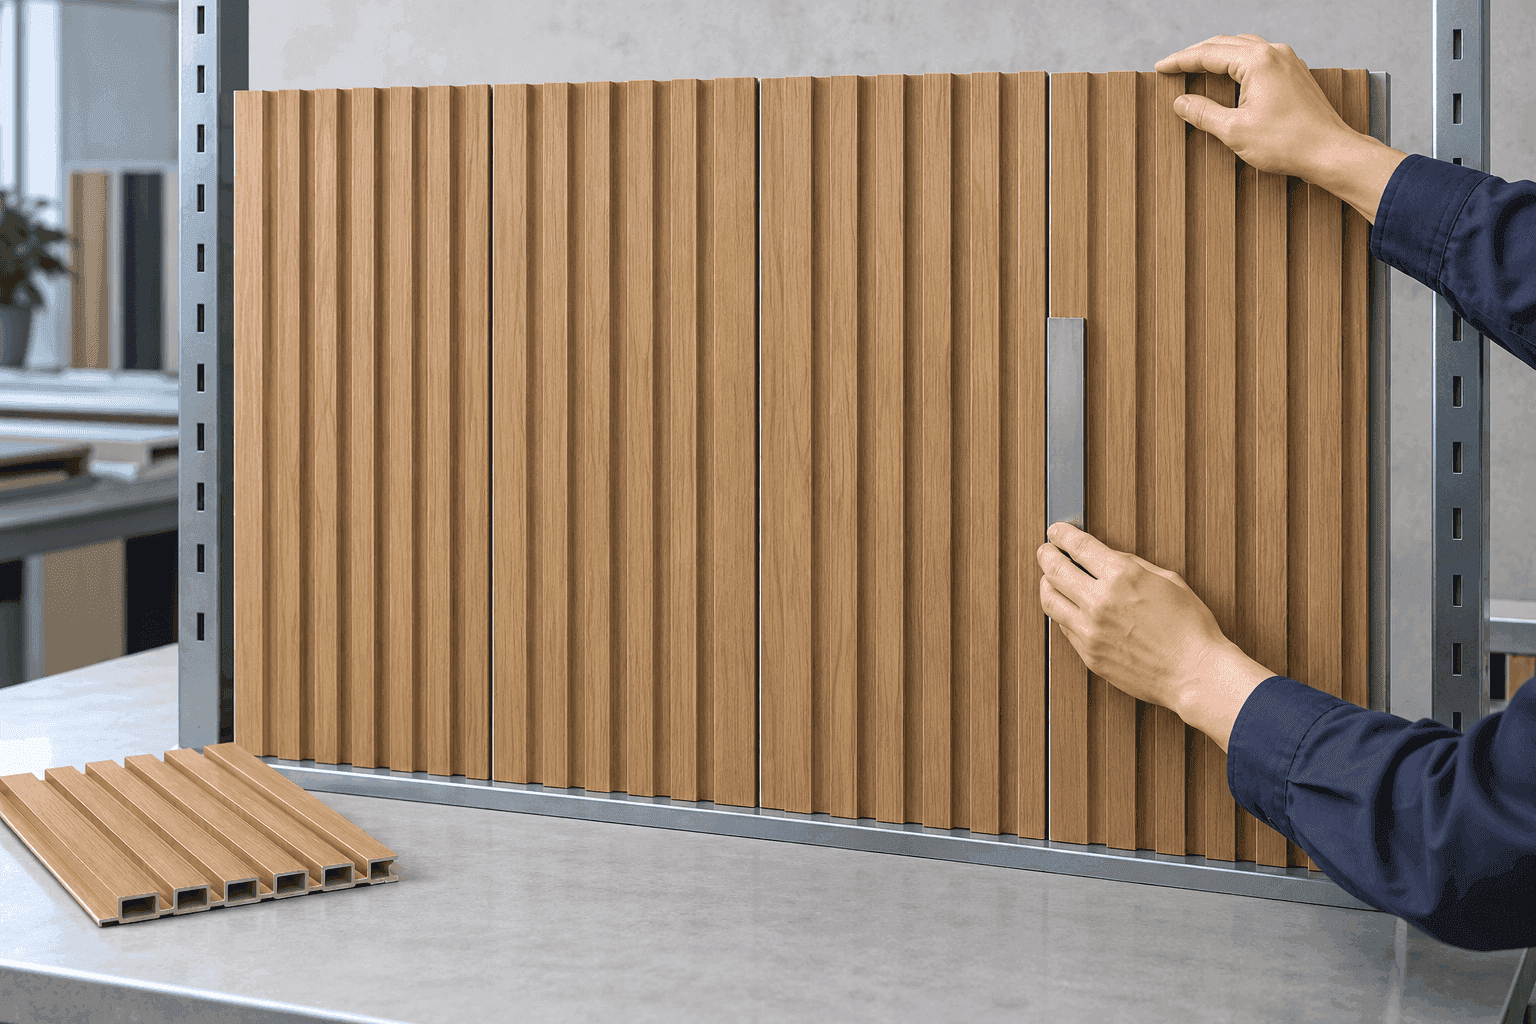
Reviewing loose pieces does not show how the installed system behaves. Assemble several pieces from the same batch and, where relevant, combine samples from different cartons. Check ease of joining, closure, alignment, visual rhythm and any visible opening.
Trial-fit the trims, corners and accessories included in the order. Do not force a joint to hide incompatibility. If assembly requires a specific technique, use the confirmed instructions and record the conditions so the result can be repeated.
- Assembly without excessive force
- Joint closure and alignment
- Visual rhythm between panels
- Compatibility across cartons or batches
- Fit of trims and accessories
- Photographed and traceable result
6. Inspect packing, labels and logistics preparation
Open selected cartons to confirm pieces, protection, orientation and product condition. Review finished packing dimensions and gross weight, end and edge protection, carton strength, closure, straps and pallets where applicable.
Compare labels and marks with buyer approval. Profile, décor, colour, length, quantity and order should be identifiable without opening every carton. Verify that the packing list and loading estimate use final data rather than preliminary figures.
- Pieces and coverage per carton
- End and surface protection
- Dimensions and gross weight
- Carton, closure, straps and pallets
- Correct labels and marks
- Updated packing list
7. Document results and control shipment release
The report should identify order, date, location, available quantity, sampling method, instruments, results and evidence. Separate measured facts from opinions and link every deviation to the batch, reference and potentially affected quantity.
Do not turn a deviation into automatic approval. Define containment, sorting, correction, replacement or reinspection and obtain a written decision from the agreed authority. Shipment should be released only when open points are resolved or formally accepted.
- Identified order, batch and quantity
- Recorded method and sample
- Traceable values and photographs
- Classified deviations
- Corrective action and reinspection
- Written shipment authorization
WPC wall panel inspection FAQ
What documents are needed before inspecting WPC wall panels?
Prepare the order, specification, profile drawing, approved sample, colour references, packing requirements and acceptance criteria. The inspector should also know the sampling method and what to do when a deviation is found.
How should WPC wall panel dimensions be checked?
Use suitable instruments and defined measurement points for width, thickness, length and relevant geometry. Record actual values and compare them with the written profile tolerances rather than relying on one isolated reading.
Is an approved sample enough to accept the complete order?
No. The sample establishes a reference, but production should be reviewed under an agreed sampling plan. Identity, dimensions, surface, joint fit, colour, packing and other documented requirements must also be checked.
How should WPC wall panel colour and finish be inspected?
Compare selected pieces with the approved sample under defined lighting and review variation, texture, gloss, repeat and visible damage. Record the viewing conditions and photographs so the comparison can be repeated.
What happens when an inspection finds a deviation?
Identify the affected batch and quantity, document the result and hold the decision on that point. Supplier and buyer should agree sorting, correction, replacement, reinspection or formal acceptance before shipment is authorized.