
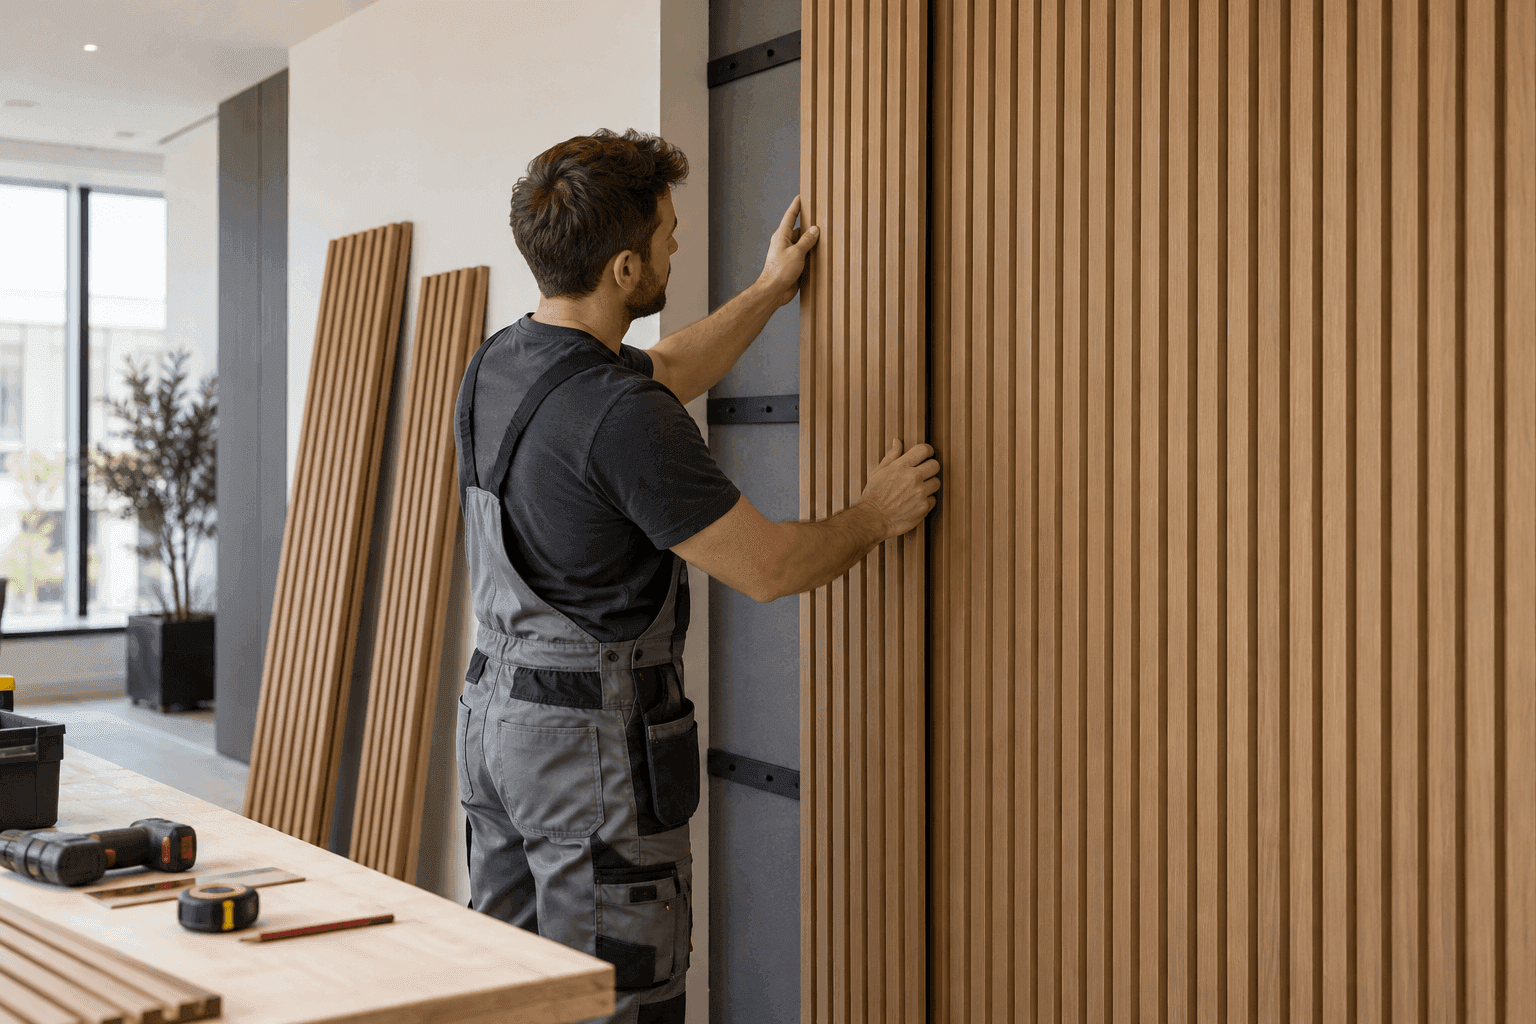
A reliable installation starts before the first panel is fixed. The supplied profile, wall condition, layout, accessories and fixing method must be reviewed as one system. This guide helps importers, distributors, installers and project buyers prepare the site, coordinate responsibilities and reduce avoidable rework.
This guide covers decorative WPC panels for interior walls, not exterior cladding. It does not replace product instructions, substrate assessment, the project specification or local codes. Always confirm the profile, accessories and fixing method with the supplier before installation.
1. Confirm the panel and installation system
Before mobilizing installers, identify the exact panel reference, dimensions, usable coverage, installation direction and the way pieces join. Profiles that look similar can use different edges, cavities and accessories.
Review the approved sample, profile drawing, trims and available instructions as one package. Do not select adhesive, clips, screws or battens by habit: compatibility depends on the profile, substrate and project specification.
- Panel reference and batch
- Dimensions and usable coverage
- Installation direction and sequence
- Profile joint system
- Compatible trims and accessories
- Confirmed fixing method
2. Inspect the wall and site conditions
The finished surface will follow the condition of its base. Check that the wall or supporting structure is sound, sufficiently flat and clean for the intended system. Identify loose paint, dust, high spots, voids, leaks, active moisture and concealed services before drilling or applying adhesive.
Record actual dimensions and compare the site with drawings, furniture, doors, skirtings, ceilings and electrical services. If a substructure is needed to correct the base or create a cavity, its material, alignment and fixing must be defined by the responsible technical party.
- Substrate soundness and flatness
- Clean and compatible surface
- Moisture or leaks resolved
- Concealed services identified
- Site dimensions verified
- Environmental conditions suitable for the system
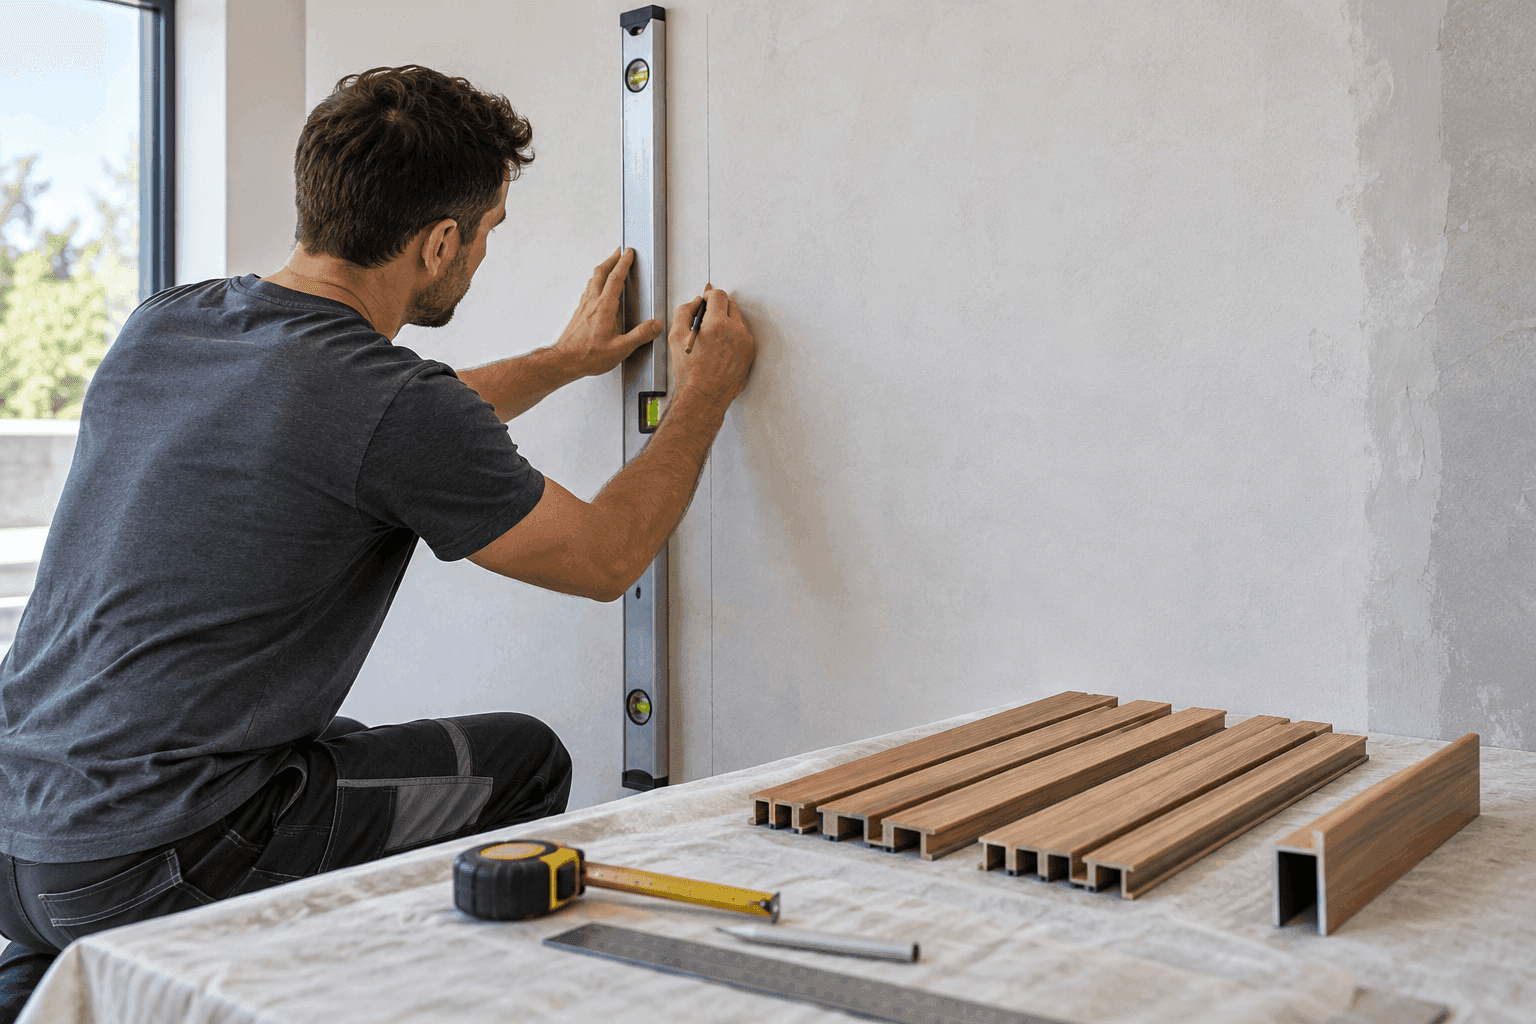
3. Plan the layout before cutting
Mark a level or plumb starting line and prepare a dry layout. Calculate the arrangement from usable coverage, not only nominal width. This helps avoid an awkward final strip and coordinates symmetry, corners, doors, outlets and material transitions.
Define where panels start and finish, how the design will run and where joints will fall. If the project mixes references or batches, set the sequence and review the appearance under representative lighting before fixing a large area.
- Starting reference line
- Usable coverage and module
- Balance of first and last pieces
- Corner and transition positions
- Cut-outs for outlets and services
- Sequence by décor, colour and batch
4. Prepare materials, tools and a trial area
Store panels protected, on suitable support and according to the product guidance. Inspect profiles, surfaces, edges, colour and accessories before cutting. Segregate damaged or non-conforming pieces so they do not enter the finished wall.
Prepare measuring and cutting tools suitable for the profile, together with the required protective equipment. Build a trial area that includes a joint and a trim. The trial helps verify cutting, appearance, fixing compatibility and sequence before work continues.
- Panels protected and inspected
- Accessories and fixings available
- Tools suitable for the profile
- Protective equipment for cutting and installation
- Approved trial area
- Non-conforming pieces segregated
5. Install and check alignment progressively
Position the first piece with particular care because it sets the reference for those that follow. Use the confirmed method and follow the system sequence. Do not force joints or use fixings that distort the profile or remain visible outside the intended detail.
Check plumb, level, contact, joints and visual rhythm as work progresses. Correct drift while it still affects only a few pieces; waiting until the end can turn a simple adjustment into extensive removal. Protect the surface from dust, impact and simultaneous trades.
- First piece level or plumb
- Joints closed without forcing
- Fixing according to the approved detail
- Alignment checked during progress
- Surface protected from damage
- Deviations corrected promptly
6. Finish corners, edges, cut-outs and transitions
Details determine whether the wall reads as a finished system. Cut and dry-fit trims at corners, ceiling or skirting junctions, door frames and transitions to other materials. Protect exposed edges according to the approved solution.
Measure cut-outs for outlets, switches and services directly on site. Coordinate electrical isolation and future access with authorized personnel. Do not conceal points that must remain accessible or rely on the panel to correct a poorly positioned box or opening.
- Internal and external corners
- Starting and finishing edges
- Ceiling and skirting junctions
- Frames and transitions
- Cut-outs measured on site
- Service access maintained
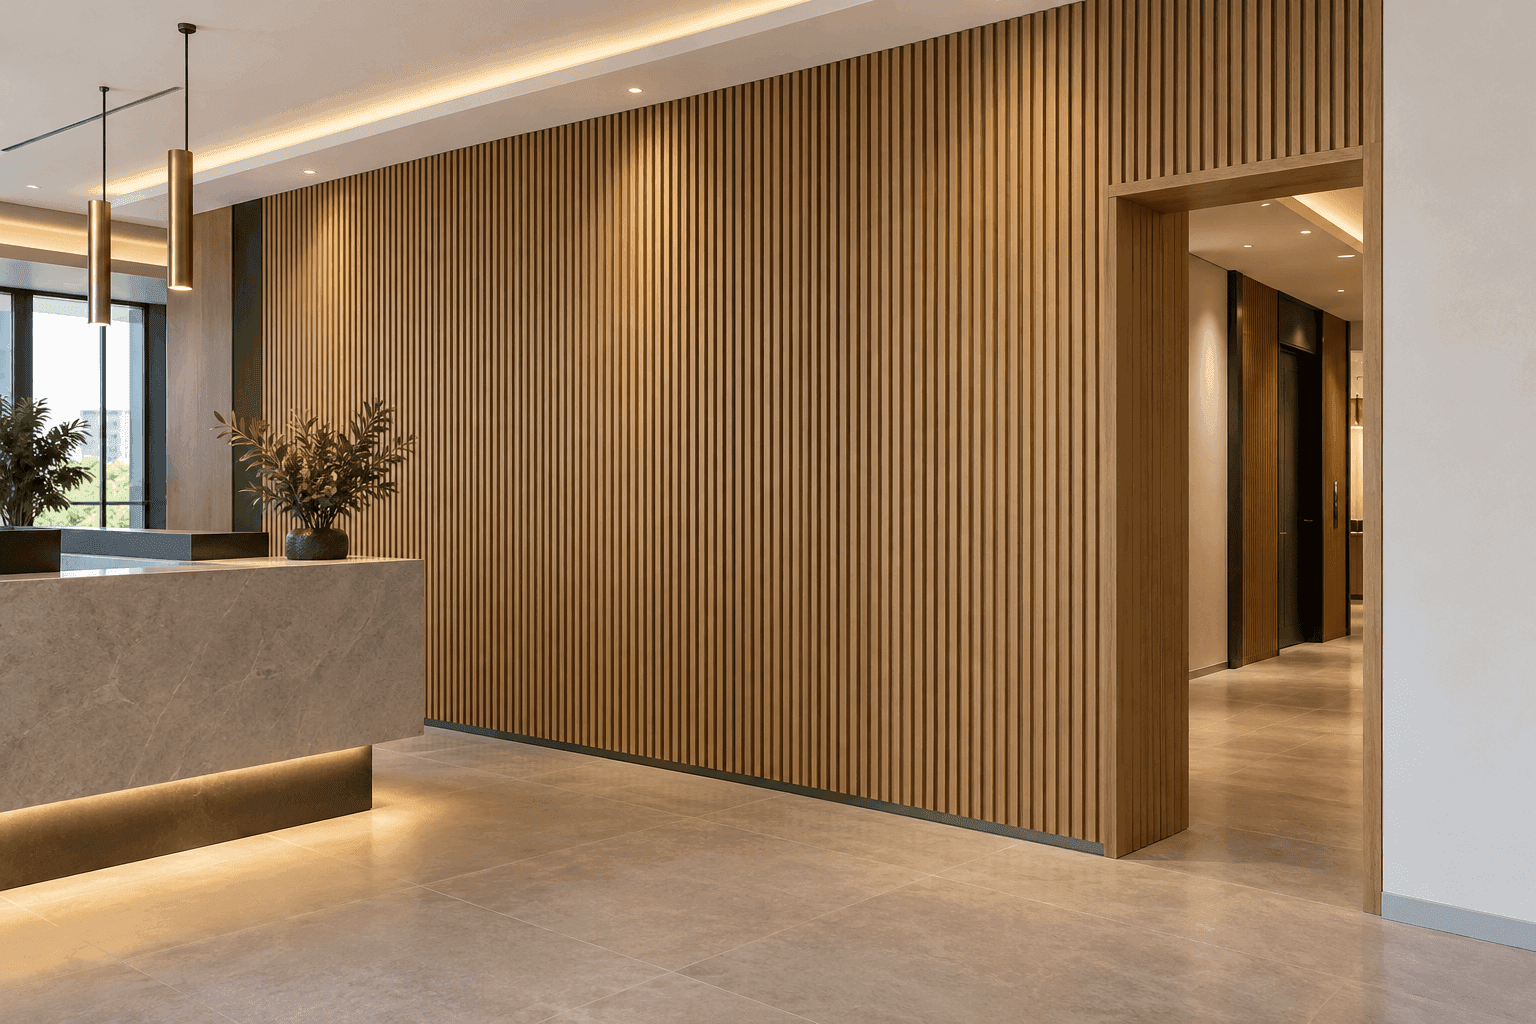
7. Inspect, clean and document the handover
Inspect the wall both close up and from its intended viewing distance. Check alignment, visual continuity, joints, trims, cut-outs, damage and residue. Clean using the method specified for the surface; unconfirmed abrasives or solvents can affect the finish.
Record installed references and areas, accepted observations and spare material. Provide available cleaning and maintenance guidance and agree who will address any remaining adjustment. A documented handover makes after-sales service clearer for the distributor, installer and customer.
- Alignment and visual rhythm
- Complete joints and trims
- Clean cut-outs and accessible services
- Surface free of damage and residue
- References and areas recorded
- Cleaning, maintenance and outstanding items handed over
WPC wall panel installation FAQ
Can WPC wall panels be installed directly over an existing wall?
It depends on the profile, fixing system and condition of the surface. The wall must be assessed to confirm it is sound, sufficiently flat, clean and suitable for the intended method. Loose paint, active moisture, irregularities or a weak substrate must be addressed before installation.
Is adhesive better than battens, clips or screws?
There is no universal method. The choice depends on profile design, substrate, levelling needs, accessories and system instructions. Confirm adhesive or fastener compatibility and approve an installation detail before site work begins.
How should corners, outlets and exposed edges be handled?
Define these points during layout planning. Confirm trims, clearances, installation sequence and access to electrical boxes with the responsible technical party. Cut-outs should be measured on site and protected or finished according to the approved detail.
Can indoor WPC wall panels be used in wet areas?
This should not be assumed from the WPC name alone. Confirm the product's intended use, actual water exposure, ventilation, substrate, sealing and local requirements. Areas with direct or continuous water contact require a specific assessment of the complete system.
What should be included in the handover of a WPC panel installation?
Review alignment, joints, trims, corners, cut-outs, visible fixing where applicable, cleanliness and damage. Record installed references, retain any agreed spare material and provide the available cleaning and maintenance guidance for the product.