
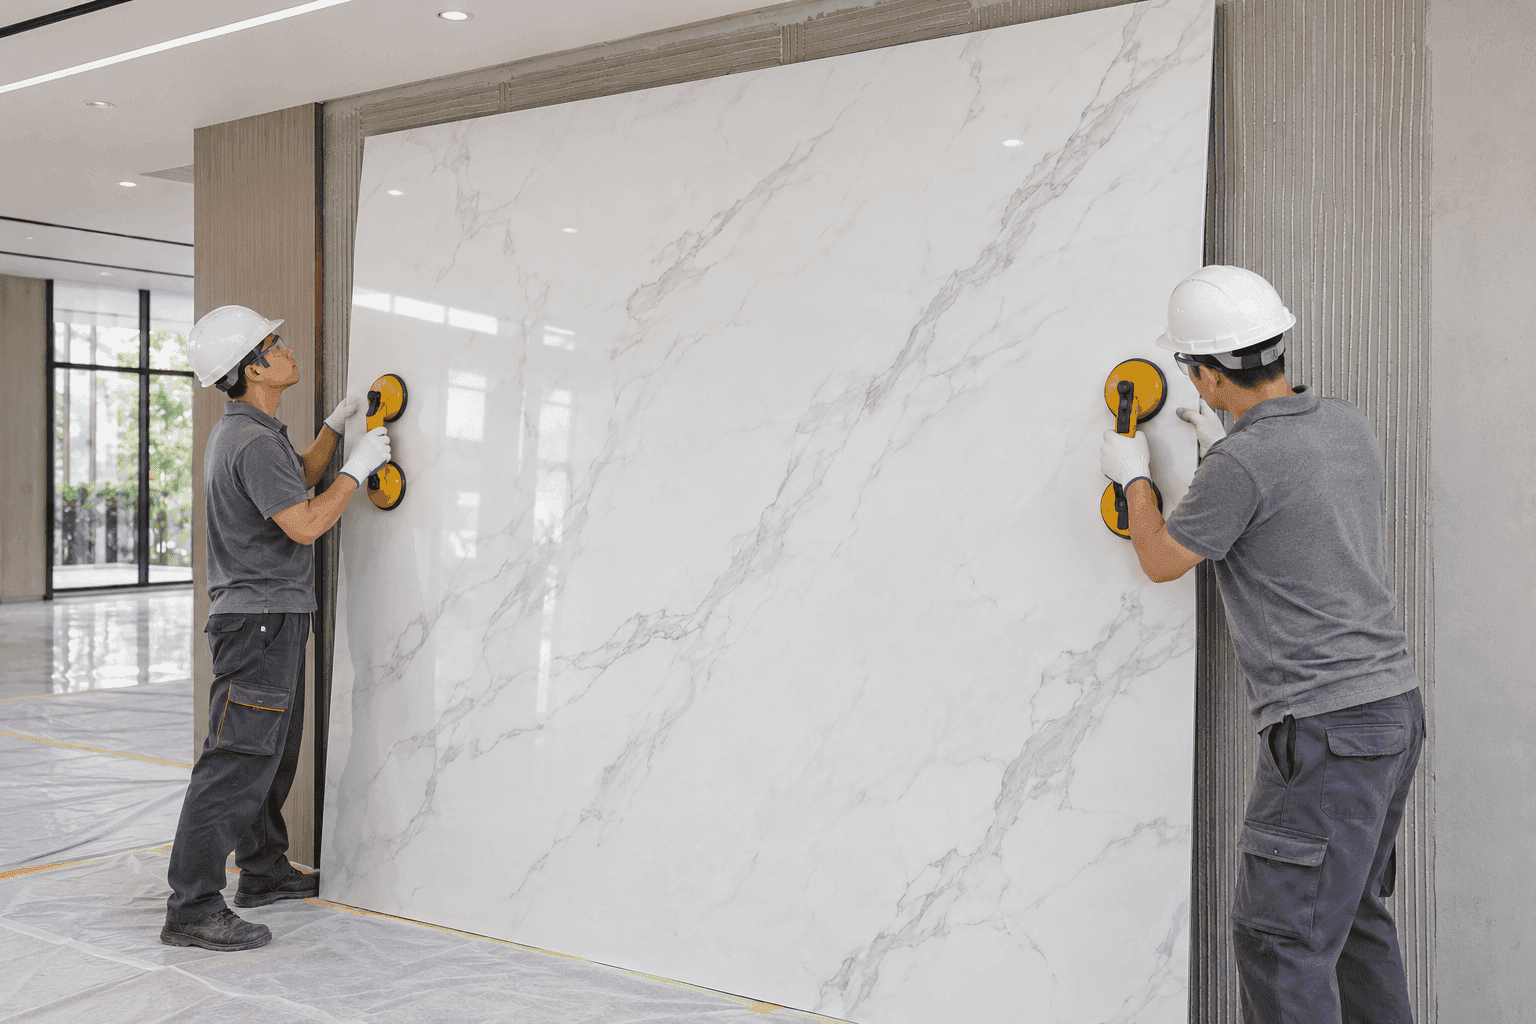
A finished UV marble sheet wall depends as much on preparation as on the material. Substrate, layout, vein direction, fixing method, joints and trims must be reviewed as one system. This guide helps distributors, installers and project buyers coordinate the work before the first sheet is positioned.
This guide covers decorative UV sheets for interior walls. It does not replace product data, substrate assessment, adhesive or fixing-system instructions, local codes or the project specification. Confirm those requirements before installation.
1. Confirm the sheet and installation system
Before mobilizing installers, identify the sheet substrate, dimensions, thickness, decorative face, back, protective film and décor reference. Also confirm trims, profiles, sealants and any included accessories.
Review the sample, product data, drawings and project requirements as one package. Do not select adhesive or fixing by habit: compatibility depends on the sheet, base, size, site conditions and applicable instructions.
- Sheet reference and construction
- Dimensions, thickness and orientation
- Face, back and protective film
- Décor and approved sample
- Trims and accessories
- Confirmed fixing method
2. Inspect the wall and prepare the layout
Check that the wall or support is sound, sufficiently flat, clean and compatible with the system. Identify loose paint, dust, grease, high spots, voids, leaks, active moisture and concealed services before applying adhesive or drilling.
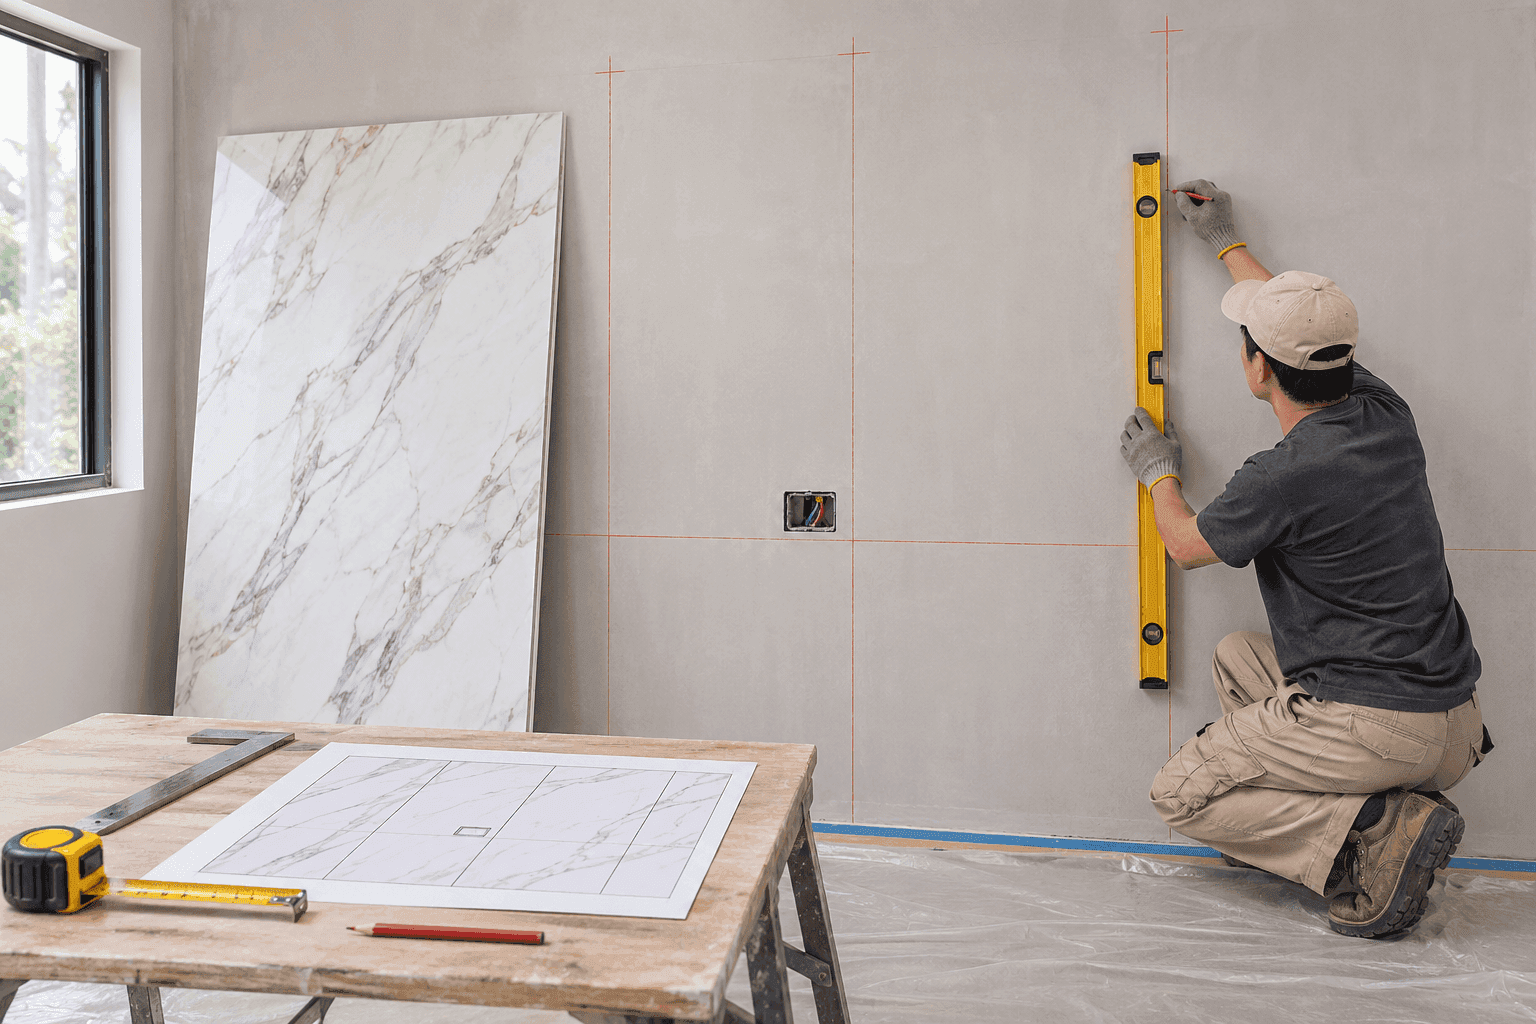
Measure the actual surface and mark level and plumb reference lines. Coordinate doors, ceilings, skirtings, furniture, outlets, corners and transitions. The layout should avoid awkward strips and position joints where they can be executed and maintained correctly.
- Base soundness and flatness
- Clean and compatible surface
- Moisture or leaks resolved
- Site dimensions verified
- Services and obstacles identified
- Reference lines and joints planned
3. Plan veins, sequence and dry layout
Safely stage the sheets before cutting. Identify reference, face, orientation, batch and proposed position. Review how the vein continues between pieces and whether tone variation creates the intended effect.
Prepare a numbered layout and mark the back without affecting the surface. Confirm the first piece, installation direction, joints, corners and cut-outs. Dry approval reduces improvised decisions after adhesive has been applied.
- Reference and batch identified
- Face and orientation confirmed
- Vein continuity reviewed
- Joint and corner positions
- Numbered plan and sequence
- Layout approved before cutting
4. Handle, cut and prepare openings safely
Large sheets need sufficient support during storage, movement and cutting. Use the number of people, suction lifters, tables and protective equipment appropriate for the confirmed size and weight. Avoid bending, dragging faces and unstable support.
Select tools compatible with the substrate and make a trial cut. Measure openings on site and prepare opening corners according to the approved detail. Protect the decorative face and control edges and dust during the process.
- Continuous support during handling
- Suitable crew and suction lifters
- Tool compatible with the substrate
- Trial cut completed
- Openings measured on site
- Face, edges and dust controlled
5. Fix and align each sheet progressively
Prepare a trial area that includes the substrate, fixing, joint and trim. For adhesives, follow the manufacturer's compatibility, preparation, application, open-time, pressure and curing guidance. Where mechanical fixing is used, follow the approved technical detail.
Position the first sheet with particular care and check level, plumb, contact and orientation. Review alignment and joints as work progresses. Do not force a sheet to compensate for an irregular base or remove supports before the system can hold it.
- Approved trial area
- System compatibility confirmed
- Application according to instructions
- First sheet level and plumb
- Contact and support verified
- Alignment controlled during progress
6. Finish joints, corners, edges and transitions
The joint detail must match the design, expected movement, fixing system and project requirements. Confirm whether the joint remains open or uses a profile, sealant or another solution. Do not apply a finishing product without checking compatibility with the UV surface.
Dry-fit internal and external corners, frames, skirtings, ceilings and transitions. Measure outlets and services on site, coordinate electrical isolation with authorized personnel and maintain access to points that must remain serviceable.
- Confirmed joint detail
- Compatible finishing product
- Internal and external corners
- Ceiling and skirting junctions
- Clean and protected cut-outs
- Service access maintained
7. Inspect, clean and document the handover
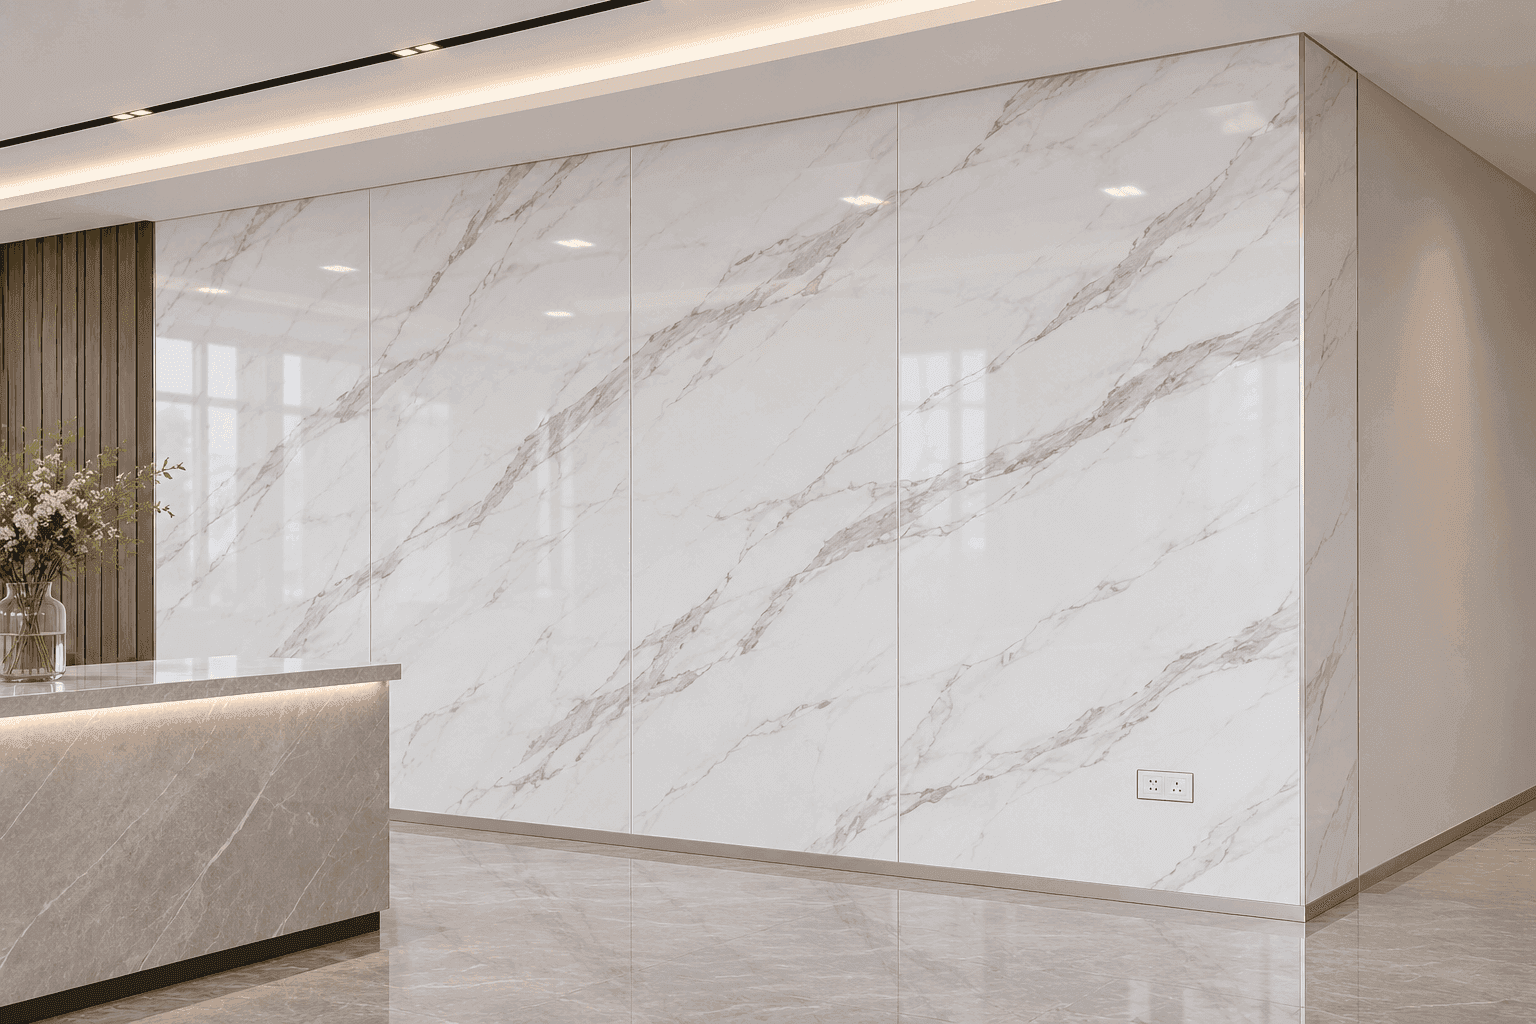
Inspect the wall close up and from its normal viewing distance. Check alignment, vein continuity, joints, corners, trims, cut-outs, visible bond where applicable, damage and residue. Remove protective film according to the agreed sequence.
Clean using the confirmed method for the surface; unapproved abrasives or solvents can affect the finish. Record installed references and areas, retain agreed spare material and provide available cleaning and maintenance guidance.
- Alignment and visual continuity
- Joints, corners and trims
- Cut-outs and accessible services
- Surface free of damage and residue
- Film removed correctly
- References, cleaning and open items handed over
UV marble sheet installation FAQ
Can UV marble sheets be installed directly over an existing wall?
It depends on the sheet, fixing system and condition of the surface. The base must be assessed for soundness, flatness, cleanliness and compatibility. Loose paint, active moisture, contamination or irregularities must be corrected before installation.
Which adhesive should be used for UV marble sheets?
There is no universal answer. Confirm compatibility with the sheet back, substrate, sheet size, environmental conditions and project requirements. Follow the adhesive manufacturer's instructions and complete a trial where appropriate.
How should vein direction be planned between sheets?
Dry-lay or stage the sheets, identify face, orientation and reference, and prepare a placement plan. Review continuity, contrast and joint positions under representative project lighting before cutting or fixing.
How should outlets, corners and exposed edges be finished?
Define these points during layout planning. Measure cut-outs on site, coordinate electrical work with authorized personnel and confirm compatible profiles, sealants or trims. Do not conceal points that must remain accessible.
What should be checked before handing over the finished wall?
Review alignment, vein continuity, joints, corners, edges, cut-outs, cleanliness, damage and residue. Record installed references, provide available cleaning guidance and agree who will resolve any open item.